Tools
- Driver & Bits – Used to drive structural screws or fasteners when attaching deck railing posts to the framing or blocking.
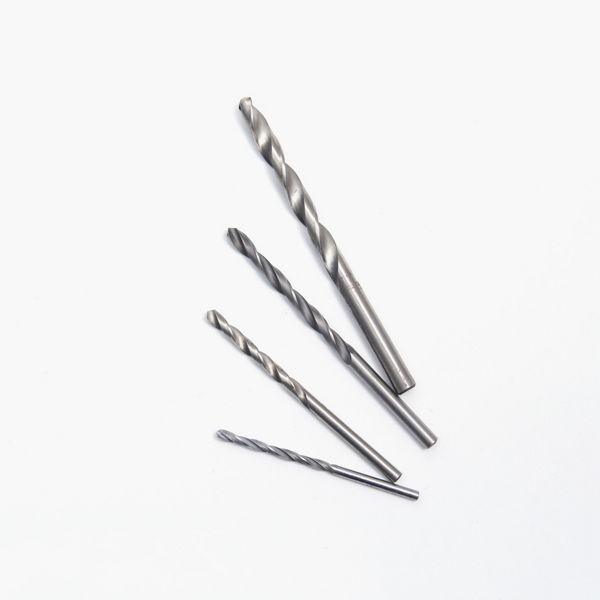
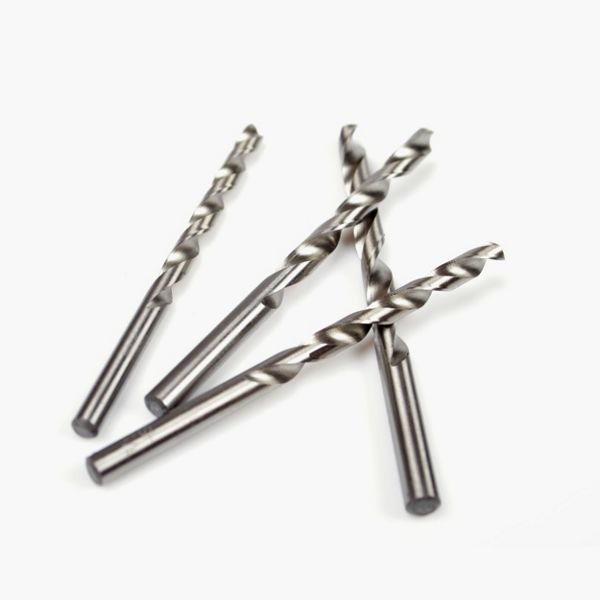
- Drill & Long Bits – Used to predrill holes for long structural screws or for drilling through-bolt holes when posts are mounted with through-bolts instead of structural screws.
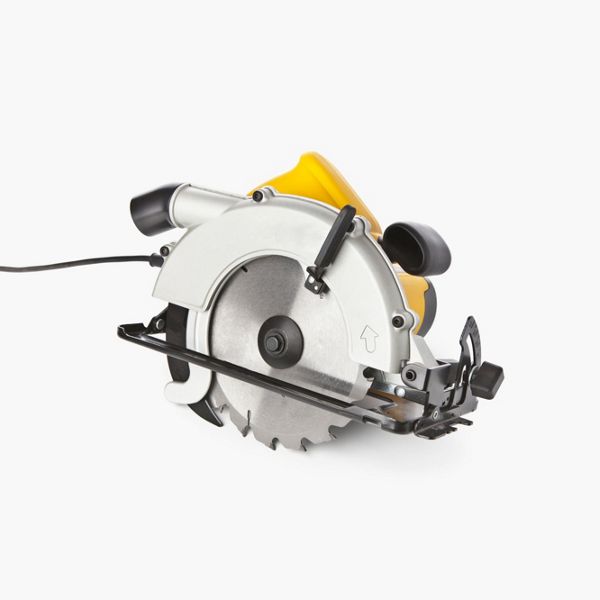
- Circular Saw – Used to cut blocking and posts to length.
- Ratchet Wrench and Sockets (optional) – Used to tighten nuts when posts are mounted with through-bolts instead of structural screws.
- Hammer – Used to tap blocking into place between joists or adjust framing pieces before fastening.
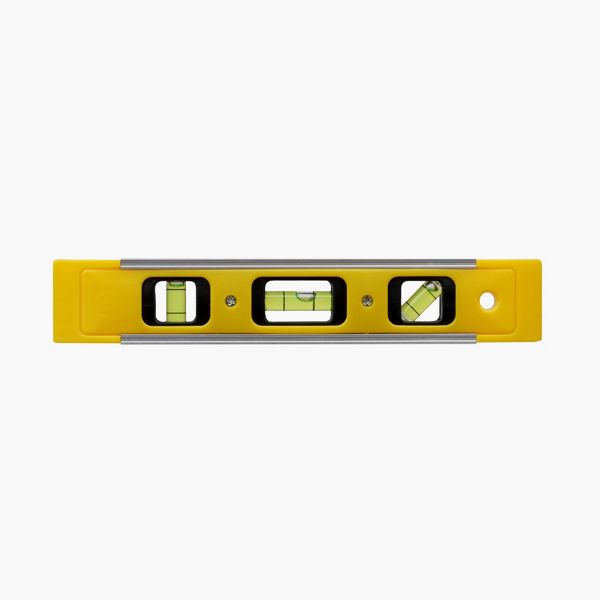
- Level – Used to ensure each guardrail post is plumb before fastening and to confirm the finished railing line is straight when connecting railing post to deck framing. Post levels are handy but not necessary.
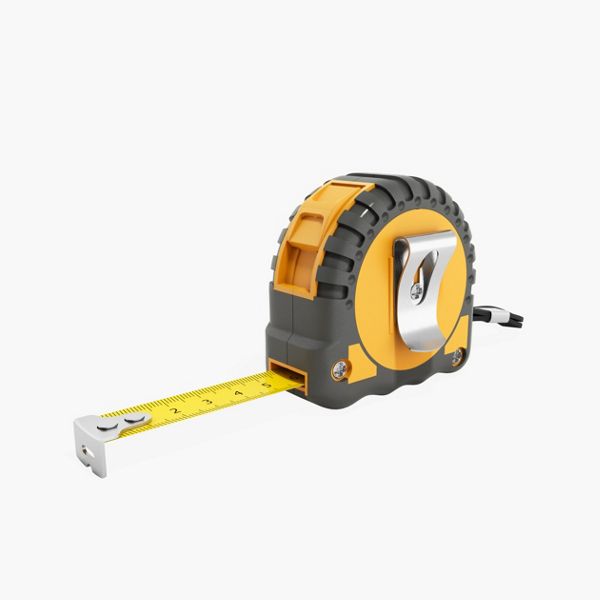
- Tape Measure – Used to measure post locations, blocking lengths and spacing to maintain consistent railing layout.
- Pencil – Used for marking post centers, blocking placement, and alignment lines on joists.
- Speed Square – Used to mark square lines on blocking and framing for accurate cuts and consistent post layout.
- Utility Knife or Chisel – Used to trim shims or remove small obstructions so the post can be set perfectly plumb.
- Paint Brush – Used to apply wood preservative to cut ends of posts or blocking to prevent future decay.
- PPE: Gloves, Safety Glasses, Hearing Protection – Used to protect your hands, eyes and ears during cutting, drilling, and fastening.
Materials
4x4 Pressure-Treated Posts – Used both as the structural guardrail posts and for blocking that will help provide strength for the deck railing post connection.
2x Blocking Lumber – Used to create solid blocking between joists and post. To reduce the amount of materials required, use the scraps left over from cutting joists to size as blocking.
Structural (Timber) Screws – Used to secure the guardrail post and blocking to the deck framing. Screws must be rated for outdoor use and for use with treated lumber. This project required 8 inch and 5 inch timber screws along with some 3 inch construction screws for temporary blocking.
Through Bolts, Washers, and Nuts (optional)– Used as an alternative to structural screws to secure posts and blocking.
Exterior-Grade Wood Preservative – Used to seal freshly cut ends on posts or blocking to prevent long-term moisture damage.
Shims – Used to fine-tune the post position and ensure the guardrail post is perfectly plumb before fastening.
- 01: Corner Deck Post Installation →
- 02: Front Rim Deck Post Installation →
- 03: Side Rim Line Deck Post Installation →
So you're ready to get started? Watch our how-to tutorial before you start your build.
Before you begin any DIY project, make sure to wear the appropriate personal safety equipment. Eye protection, ear protection, gloves, long pants, a long-sleeved shirt, and reinforced toe shoes are recommended. Always make sure that you have a first aid kit nearby. For any home project, be certain to follow local code and permitting requirements.
Guardrail post installation is a critical connection and dictated by code. The guardrail will have requirements for lateral loads from multiple directions. Check with the local municipality for code requirements.
Step 1
Start by attaching a scrap piece of lumber under the deck frame to support the guardrail post while fastening. Attach to both joists adjacent to the guardrail post. Use 3” exterior grade wood screws to fasten the scrap block to the underside of the deck frame. Install this block at every location where a guardrail post will be installed. This block will be removed once the guardrail post is completely installed.
Step 2
The materials needed to install a corner guardrail post are as follows:
- Treated wood 4x4 post for the guardrail post
- Treated wood 4x4 post block measuring the same width as the deck joist material
- (2) 2X joist material cut to fit in between the adjacent joists
- (12) Simpson Strong Tie SDWS 8” Timber screws, 4) other screws are shown in the diagram and they were installed during the front rim joist installation.
Step 3
The corner guardrail post attachment is shown below in Simpson Strong Tie fastening guide. To learn more about multiple guardrail post attachments, check out this guide by Simpson Strong Tie.
Step 4
Cut the post blocking to length. Measure the distance between the adjacent joists and mark the pieces of joist material to be cut. Cut with a circular saw and treat all cut ends with a wood preservative.
Pro Tip
Cut all the blocking needed for all the guardrail posts at one time. Measure each section and notate the needed amounts. Cut, treat, and place all blocks in their respective areas. This will get the cutting all done at once and then can move to the installation process.
Step 5
Place the 4x4 guardrail post and plumb the post. A post level or a standard level can be used. Use a 3” exterior grade wood screw to tack the post to the frame. Fasten the screw into the bottom of the post on one side. This will let the post stand and still move on the other side so that it can be plumbed.
Step 6
Using a post level or standard level, plumb the post and install a 3” exterior grade wood screw through the top of the frame and into the post.
Step 7
Measure and mark for the fasteners that will hold the guardrail post blocking behind the post. These fasteners will be the Simpson Strong Tie SDWS 8” Timber screws. The blocking is 1 ½” thick joist material and will fit tight to the post. The fastener needs to be in the middle of the blocking so measure over from the edge of the post ¾” and make a mark. The second block will be tight to the first block and is 1 ½” thick so measure from the first mark 1 ½” and make a mark. This will be the center of the second block.
Step 8
Transfer the marks down the side of the joist using the speed square.
Step 9
To make sure the fasteners on the side do not hit the fasteners coming in from the front, mark 1 ½” down from the top and 1 ½” up from the bottom. The front fasteners are marked at 2” so now they will not hit each other.
Step 10
Mark the center of the post on the front rim joist and transfer the line down the joist.
Step 11
The marks are already there for the fasteners at 2” down from the top and 2” up from the bottom so where they intersect is where the fasteners will go.
Step 12
Mark the center of the 4x4 blocking and transfer that line down the front of the front rim joist. The fasteners will be located where the lines intersect.
Step 13
Repeat the markings for the side rim joist on to the next adjacent joist.
Step 14
Set the 4x4 post blocking in place next to the guardrail post and against the front rim joist.
Step 15
Fasten the two post blocks together with (2) 3” exterior wood screws. Make sure that the tops of the blocks are flush with each other.
Step 16
Fasten a scrap piece of lumber to the top of the two post blocks. Use (1) 3” exterior grade wood screw and attach in the middle of the scrap piece of lumber. The scrap should overhang each side by at least ¾” and flush with one side of the post blocking. This will allow the block to sit inside the two adjacent joists so that it does not need to be held. It will also allow the post block to fit snuggly against the post.
Step 17
Drop the block in place between the joists and tight to the guardrail post.
Step 18
Pre-drill through the joists and into the blocks.
Step 19
Insert the fasteners through the joists and into the blocking. Make sure the head of the fastener indents into the lumber and is flush with the outside edge of the joist.
Step 20
Remove the top scrap piece of lumber to complete the install.
Step 1
The front rim post installation is very similar. The 2X blocking is the same, 8” SDWS Timber screws through the front rim joist are the same and the guardrail post itself is the same. The fasteners going through the side of the joists into the blocking will be 5” SDWS Timber screws instead of the 8” as on the corner post. There will not be a 4x4 post block on this configuration. To learn more about multiple guardrail post attachments, check out this guide by Simpson Strong Tie.
Step 2
The materials needed to install a front rim guardrail post are as follows:
- Treated wood 4x4 post for the guardrail post
- (2) 2X joist material cut to fit in between the adjacent joists
- (2) Simpson Strong Tie SDWS 8” Timber screws, 4) other screws are shown in the diagram and they were installed during the front rim joist installation.
- (8) Simpson Strong Tie SDWS 5” Timber screws
Step 3
Plumb the post and tack it in place with 3” wood screws.
Step 4
Sometimes the post will need to be moved away from the front rim joist a small amount to be plumb, and the post can be fastened from the side to keep it plumb. However, when the fasteners are put in the front of the rim joist it will often pull the post back out of plumb. To correct this, a shim can be installed in between the rim joist and the guardrail post. A composite shim is recommended as they will not rot or compress.
Step 5
Predrill and install the SDWS 8” Timber screws through the front rim joist, post and into the post blocking.
Step 6
Install the 5” SDWS Timber screws through the side joists and into the joist blocking.
Step 7
Break the shim off and clean the edge with a chisel.
Step 1
The side of the deck will have a post in each corner.
The post at the outer most corner will be in the corner of the side rim joist and the front rim joist.
The back corner post that is closest to the house cannot be tight against the ledger board. Because this post will have a post sleeve, trim ring, and post cap around it, there needs to be room for these items between the post and the house. It is also important to remember that there cannot be more than 4” between the house and the post sleeve per code. Plan accordingly for around 2” to 2 ½” between the post and the siding.
Step 2
With a post now determined on each side, it is time to split the distance into equal spaces. Measure from the middle of one post to the middle of the other post. In this case the distance was 158 ½”.
Step 3
Divide the total number by how many railing spaces are desired. Start with two spaces and remember that the space from middle to middle cannot be over 72”. In this example, the railing is not long enough (158.5/2=79.25), so more than two spaces will be required.
Step 4
Divide the total amount by 3 railing spaces to reduce the length of each railing. 158.5/3=52.83. 58.83 is shorter than 72” so it will work.
Step 5
There will be 3 sections of rail, and each section will measure 58.83" or roughtly 58 7/8" from the middle of one post to middle of the next post.
Measure from the midde of the post 58 7/8" and make a mark.
Step 6
Continue by measuring from middle of the post to the middle of the next post and make a mark.
Step 7
The side rim line post installation is very similar to the corner post installation except that the post blocking will go to each side of the post instead of being doubled up behind the post. The side rim line post will also have the 4x4 post block. To learn more about guardrail post attachments, check out this guide from Simpson Strong Tie.
Step 8
The materials needed to install a side rim line guardrail post are as follows:
- Treated wood 4x4 post for the guardrail post
- Treated wood 4x4 post block measuring the same width as the deck joist material
- (2) 2X joist material cut to fit in between the adjacent joists
- (8) Simpson Strong Tie SDWS 8” Timber screws
- (8) Simpson Strong Tie SDWS 5” Timber screws
Step 9
Apply the same routine when installing this post. Attach a scrap piece of lumber to the post blocking to hold the blocking up and keep the top of the blocking flush with the top of the joists. Plumb the post and tack in place. Mark the screw locations. Predrill the longer screws. Fasten the screws to the blocking. Remember to stagger the screws up and down to avoid the screws hitting each other as they are coming in from many sides of the post.
Step 10
Install all fasteners and remove the temporary blocks to complete.
This content was partially or fully generated by AI and has been reviewed by our team to ensure accuracy and relevance.

